
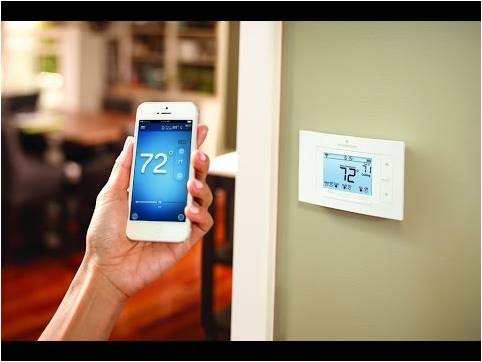
Wi-Fi thermostat installation in Yorktown is
often done by experts, but it’s very easy to install the latest models of
wireless thermostats if you have some basic knowledge of electrical circuits.
When you’re ready
to install your wifi thermostat, the process outlined here will guide you
through the installation process of most popular
types of thermostats on the market right now.
What you will need
•
Small screwdriver (if your current
thermostat has a cover secured by screws)
•
Complete wifi thermostat package,
with instructions
Instructions
1. Switch off power at
the breaker of system switch to protect yourself and avoid blowing a fuse in
your equipment.
2. Remove the cover
from the old thermostat.
3. Check your system
if you haven’t already confirmed that your wires are compatible with your
chosen brand of wifi thermostat. If your system is high voltage, it may not be
compatible with the type of wifi thermostat. All high voltage systems will be labeled
110V, 120V or 240V, or it will have thick wires with wire nuts.
4. Remove jumper wires,
which are the short wires between two connectors. Many wifi thermostats do not
require these—check the instructions before removing any jumper wires.
5. Label the wires
with the labels included in the thermostat system’s installation guide.
6. Disconnect the wires and remove the
base (see the Tips section for a great tip on
this)
7. Mark
where screws will go
8. Attach the new base by
pulling the wires through the center of the base, then attach it to the wall
with the screws.
9. Connect the wires
and then push them down to make them flush with the base. Hold the connector’s
button down when inserting a wire and let go after the wire is fully inserted.
You’ll know a wire is properly inserted when its terminal button stays down
after you let go. Some wires may need straightening before they will insert
completely.
10. Attach
the display
11. Switch
the power back on
Tips
•
Take the backup battery out of your
old thermostat so that when the power is turned off the thermostat will shut
down completely as well. To make sure that it worked, adjust the temperature
and check that the HVAC system doesn’t start up.
•
Never try to connect a thermostat to
a high voltage system if it is not built for it. Always read the instructions
for warnings about high voltage use.
•
Take a photo with your phone of the
wires on your old thermostat so you have a future reference.
•
After removing the base from the
wall, wrap your loose wires around a pen or pencil to ensure they don’t fall
back into the hole in the wall. It’s a little trick from the pros!
•
Power to the HVAC system must be off
during the entire installation process (excluding the testing step) to avoid
blowing a fuse.
•
Attach the new base to hard wood
easily by drilling with a 3/32 or 2.5mm drill bit.
Our
11 step process for wifi thermostat installation in Yorktown is a very general
description of the current process used to install most wifi units. It should
not be used in lieu of the manufacturer’s instructions.


No comments:
Post a Comment